Embark on a creative journey and discover how to animate in Roblox Studio, turning your static creations into dynamic, living characters and objects. This comprehensive guide is tailored for busy US gamers, averaging 36 years old, who seek to balance their passion for gaming with life's demands. We understand you value relaxation, skill-building, and social play, and want to create without unnecessary hassle. This article will walk you through the entire animation process, from setting up your rig to publishing your masterpiece, addressing common pain points like initial setup and performance optimization. Dive into the world of Roblox animation and unlock new levels of expression, whether for personal enjoyment, enhancing your game, or collaborating with friends. Learn essential techniques, troubleshoot common issues, and master the Roblox Animation Editor to bring your virtual visions to life with fluidity and flair. This month, joining the ranks of Roblox animators is more accessible than ever, offering a rewarding skill that boosts your presence in the thriving Roblox ecosystem.
How do you start animating in Roblox Studio?
To begin animating in Roblox Studio, first ensure you have the Animation Editor plugin enabled or installed. Insert a dummy character or your own custom rig into your workspace, select it, then open the Animation Editor from the Plugins tab. Create a new animation, give it a name, and start posing your character using the rotation and translation tools to create keyframes along the timeline. This foundational step is crucial for any creator looking to bring their virtual worlds to life.
What are keyframes in Roblox animation?
Keyframes in Roblox animation are critical points on your animation timeline that define a specific pose or state of your character or object. When you create keyframes, the Animation Editor automatically interpolates the movement between these points, creating smooth transitions. Think of them as snapshots that guide the overall motion. You set a pose at one keyframe, then another pose at a later keyframe, and Roblox handles the in-between frames for you, saving significant time and effort.
How do I make my Roblox animations play in-game?
After creating and saving your animation in the Animation Editor, you need to publish it to Roblox and obtain its unique Asset ID. Then, in your game script, you'll load this animation onto an Animator instance, which is usually found within your character's Humanoid. You'll use code to create an AnimationTrack from the Asset ID and then call the Play function on that track, telling the game when and how to trigger your custom movement or action for players to experience.
Can I animate custom models in Roblox Studio?
Absolutely, you can animate custom models in Roblox Studio, provided they are properly rigged with a hierarchy of parts and joints (WeldConstraints or Motor6Ds) that resemble a character's skeletal structure. The Animation Editor works best when your model has a clear parent-child relationship between its parts. For non-humanoid models, you might need to manually set up Motor6Ds to define the rotational points. Once rigged, the animation process is largely similar to animating standard Roblox characters, offering immense creative freedom.
What's the difference between R6 and R15 animations?
R6 and R15 refer to the two main body styles for Roblox characters. R6 characters have 6 body parts, leading to more rigid, blocky animations, often favored for classic game feels. R15 characters have 15 body parts, allowing for much more fluid, detailed, and realistic animations due to the increased number of joints (e.g., knees, elbows, torso segments). When animating, you must ensure your animation rig matches the character type you intend to use it with to avoid visual glitches or non-functional movements, aligning with modern gaming expectations.
How can I fix a Roblox animation not playing?
If your Roblox animation isn't playing, first check that the Animation ID is correct and published to Roblox. Ensure the animation is loaded onto an Animator instance within a Humanoid (for characters) or a relevant part. Verify the `AnimationTrack:Play()` function is being called in your script and that any required conditions are met. Also, confirm the animation priority is set appropriately (e.g., Action, Core, Movement) and that no other higher-priority animation is overriding it. Debugging with print statements can help identify where the script might be failing.
What are good practices for efficient Roblox animation workflow?
For an efficient Roblox animation workflow, utilize the loop feature for repetitive actions, plan your animation poses beforehand, and save frequently. Leverage the "Copy All Keyframes" and "Paste All Keyframes" options for mirrored movements. Organize your animations with clear names and folders. Consider using external modeling software for complex rigs, then importing them correctly. Regularly test your animations in-game to catch issues early, and explore community resources or plugins to streamline specific tasks, ensuring a smooth creative process.
Are you a gamer who loves diving into Roblox worlds but often wishes your creations could do more than just stand still? Perhaps you've dreamt of characters with unique walk cycles, expressive gestures, or dynamic actions that truly bring your games to life. But with a busy schedule, balancing work, family, and precious gaming time, learning a new skill like animation might feel daunting. You're not alone. Many US gamers, part of the 87% who game regularly and spend 10+ hours a week in virtual worlds, seek engaging activities that offer both relaxation and skill development without overwhelming their limited free time. This month, the trend of user-generated content on platforms like Roblox continues to soar, highlighting a fantastic opportunity for you to stand out.
The good news is that learning how to animate in Roblox doesn't have to be a monumental task. The Roblox Animation Editor is a powerful yet user-friendly tool that, with the right guidance, can quickly turn you into a creator of captivating movements. This guide is designed to empower you, the busy adult gamer, with practical, actionable steps to master Roblox animation. We'll cover everything from the basics of setting up your rig to advanced techniques and troubleshooting, ensuring your journey is smooth and rewarding. Get ready to add that crucial layer of polish and personality to your Roblox experiences, making them more immersive, engaging, and uniquely yours.
What is Roblox Animation and Why Should Gamers Learn It?
Roblox animation is the process of giving movement to characters, objects, and props within your Roblox games. It's how a character walks, jumps, waves, or how a door opens automatically. For gamers, learning this skill isn't just about technical know-how; it's about unlocking a new dimension of creativity and personal expression. Imagine a custom emote that perfectly captures your personality, or a unique enemy attack sequence in your game that leaves players in awe. In a gaming landscape where mobile dominance and social interaction are key, unique animations can make your game stand out and engage players more deeply.
Moreover, animation is a valuable skill that enhances your overall game development capabilities. It allows you to transform static environments into dynamic, interactive spaces. For those balancing gaming with life, this skill offers a creative outlet that feels productive and fun, akin to perfecting a strategy in your favorite RPG or optimizing your PC build. It’s a way to contribute to the social fabric of Roblox, create shareable content with friends, and even participate in the creator economy that thrives on the platform.
What Tools Do I Need to Start Animating in Roblox Studio?
The primary tool you need is Roblox Studio, which is free to download and install. Within Roblox Studio, the most crucial component for animation is the built-in **Animation Editor**. This isn't an external program; it's a plugin that comes pre-installed or is easily accessible from the 'Plugins' tab in Studio. You'll also need a character or model to animate. Roblox provides default dummy characters (R6 and R15 rigs) that are perfect for practice, but you can also use your own custom-built characters or models. A reliable internet connection is necessary for publishing your animations to Roblox. No expensive software or high-end hardware is required, making it an incredibly budget-friendly skill to pick up.
How Do I Set Up My Character for Animation in Roblox Studio?
Setting up your character or model correctly is foundational for smooth animation. The key is ensuring your model is properly 'rigged,' meaning its parts are connected in a hierarchical structure that allows for movement. For standard Roblox characters (R6 or R15 dummies), this is usually handled automatically when you insert them. However, for custom models, you'll need to use **Motor6D** instances to create joints between parts. Think of Motor6Ds as the 'bones' that tell the Animation Editor which parts can rotate or move relative to others.
Here's a basic setup process:
- Open Roblox Studio and create a new project.
- Go to the 'Model' tab and click on 'Rig Builder'. Choose 'Block Rig' (R6) or 'Man Rig' (R15) to insert a dummy character.
- For custom models, ensure all parts are anchored (except the root part if it's a character) and then connect them using Motor6Ds from a central 'HumanoidRootPart' or a designated primary part.
- Verify your rig by selecting the main part (e.g., HumanoidRootPart) and checking its children in the Explorer window. You should see all connected body parts.
Proper rigging prevents parts from detaching or behaving erratically during animation, ensuring a seamless experience.
How Do I Use the Animation Editor in Roblox Studio?
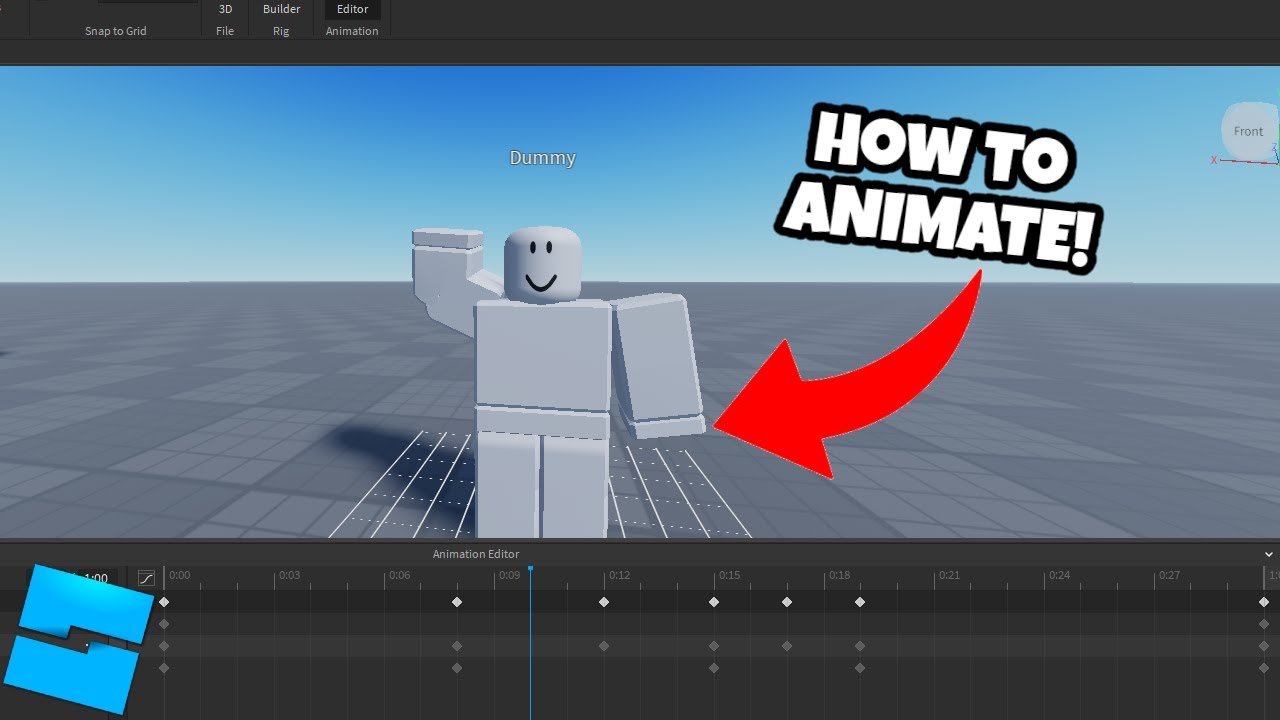
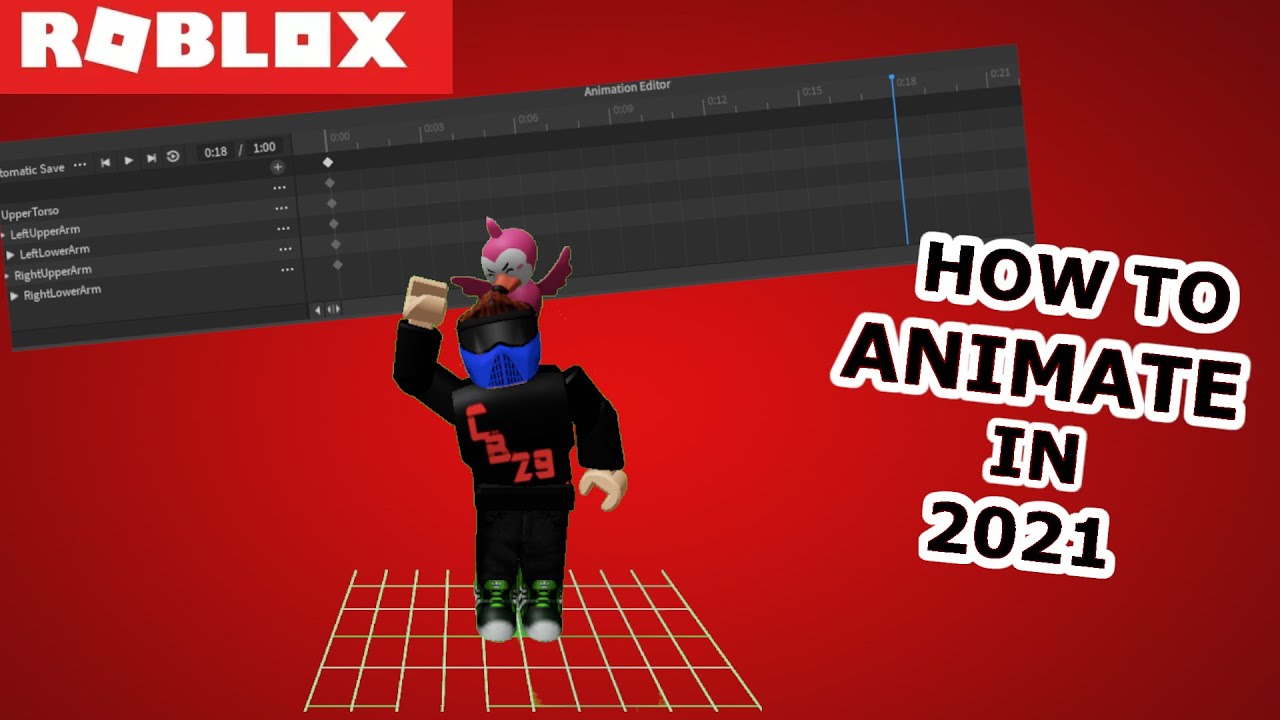
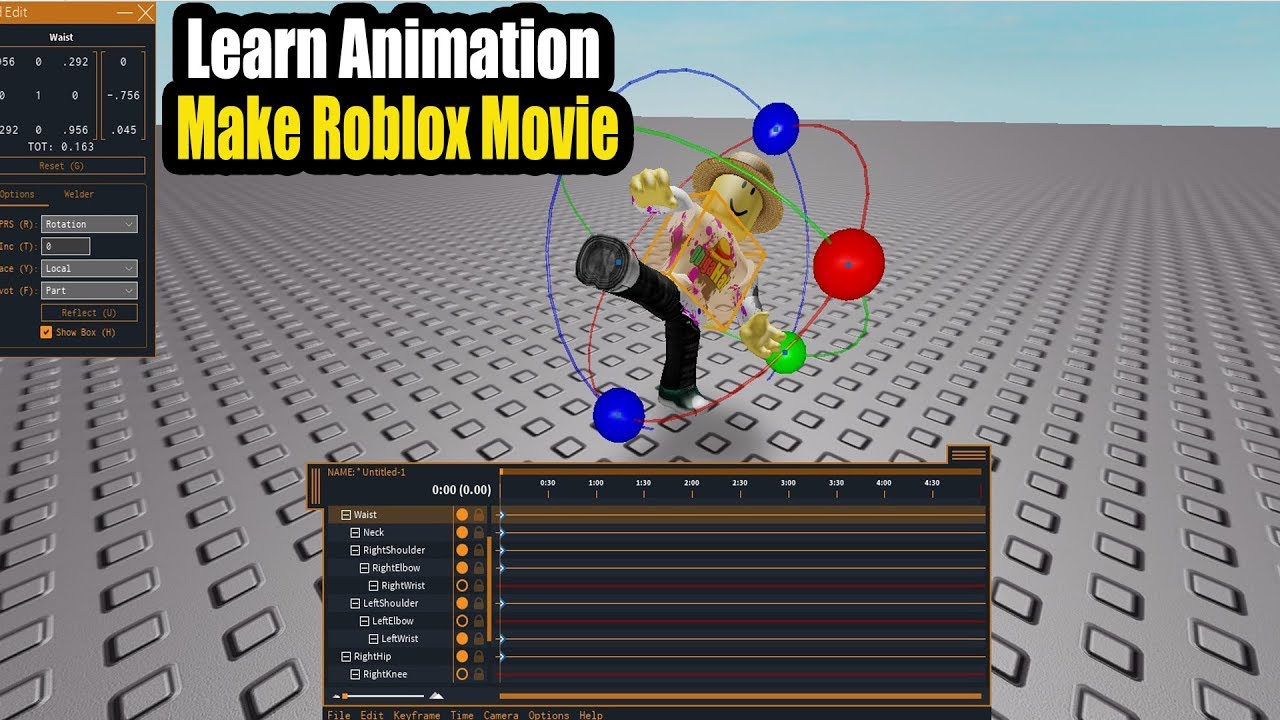
The Animation Editor is your central hub for creating movements. It features a timeline, a viewport for posing, and tools for manipulating parts. Mastering it is key to how to animate in Roblox effectively. Here's a step-by-step guide:
- Select your rigged character or model in the Workspace.
- Go to the 'Plugins' tab and click 'Animation Editor'.
- A new window will appear. Click 'Select a Rig to Animate' and choose your character from the Workspace.
- Click 'Create New' and give your animation a descriptive name (e.g., 'WalkCycle', 'Jump').
- You'll see a timeline at the bottom. The vertical blue line is the playhead.
- **Posing**: Select a part of your character (e.g., 'Left Arm') in the viewport. Use the 'Rotate' and 'Move' tools (found under the 'Model' tab, or by pressing R and T respectively) to adjust its position and orientation.
- **Keyframes**: After posing a part, click the 'Add Keyframe' button (the small diamond icon) on the timeline at the current playhead position. This locks in that pose at that specific time.
- Move the playhead forward on the timeline, pose the character again, and add another keyframe. The editor will automatically interpolate the movement between your keyframes, creating smooth transitions.
- Repeat this process, adding keyframes for different poses to build your animation sequence.
- Use the 'Play' button to preview your animation. You can adjust the animation length by dragging the end marker on the timeline.
Experiment with different parts and timings. This iterative process is crucial for refining your animation. Remember to save your progress frequently!
What Are Common Animation Principles for Roblox Creations?
Understanding basic animation principles can significantly elevate your Roblox creations, making them feel more natural and impactful. These principles are not just for professional animators; they apply to anyone learning how to animate in Roblox. Here are a few key ones:
- **Squash and Stretch**: Gives a sense of weight and flexibility. A character might 'squash' slightly before jumping and 'stretch' in mid-air.
- **Anticipation**: A preparatory action that signals an upcoming main action. Before a punch, a character might draw their arm back.
- **Staging**: Presenting an action clearly so the audience understands what's happening.
- **Follow Through and Overlapping Action**: Parts of a character (like hair, clothes, or loose limbs) continue to move even after the main body has stopped, creating more natural fluidity.
- **Timing**: The number of frames for an action, dictating its speed. Fewer frames mean faster action; more frames mean slower action.
- **Exaggeration**: Pushing actions to a more extreme degree for comedic or dramatic effect.
By consciously applying these principles, even subtly, your Roblox animations will transition from robotic to robust, greatly enhancing player engagement.
How Can I Make My Roblox Animations More Realistic or Expressive?
To infuse more realism and expression into your Roblox animations, consider these advanced techniques. First, study real-world movements; watching videos of people or animals performing the action you want to animate can provide invaluable insights. Second, utilize **easing styles** in the Animation Editor. Easing controls the acceleration and deceleration between keyframes, allowing for more natural starts and stops rather than abrupt linear movements. Options like 'EaseIn' or 'EaseOut' can make a huge difference.
Third, pay attention to **secondary actions**. If a character is running, their arms shouldn't just swing rigidly; they might also tilt their head slightly or have their torso sway. Even subtle facial expressions on R15 characters can convey emotion. For dialogue animations, synchronize movements with the spoken words for a more convincing delivery. Remember, even with a limited number of parts, creative posing and timing can evoke a strong sense of personality and life in your digital puppets.
How Do I Save, Publish, and Use My Animations in Roblox Games?
Once you've crafted your perfect animation, the next steps are crucial for integrating it into your game. First, **save your animation** within the Animation Editor. Click the three dots (...) next to your animation's name in the editor and choose 'Save'. This saves it as a local asset in your game. Second, you need to **publish it to Roblox**. Again, click the three dots and select 'Publish to Roblox'. This will open a dialog where you can title it, add a description, and then upload it. Upon successful upload, Roblox will provide you with an **Asset ID** (a long string of numbers). Copy this ID – it's your animation's unique identifier.
To **use your animation in a game**, you'll typically need a script. Here's a basic example of how it works in Lua:
local character = script.Parent -- Assuming this is a LocalScript inside the character
local humanoid = character:WaitForChild("Humanoid")
local animator = humanoid:WaitForChild("Animator")

local animation = Instance.new("Animation")
animation.AnimationId = "rbxassetid://YOUR_ANIMATION_ID_HERE" -- Replace with your Asset ID

local animationTrack = animator:LoadAnimation(animation)
animationTrack:Play()
This script loads your animation onto the character's animator and then plays it. You'll integrate this into your game's logic, perhaps to play when a certain key is pressed, an event is triggered, or as part of a custom character movement system.
What are some advanced tips for Roblox animators looking to level up?
For those looking to move beyond the basics of how to animate in Roblox, these advanced tips can significantly enhance your workflow and output. Firstly, explore the concept of **animation priority**. Animations have different priorities (Core, Idle, Movement, Action, Action2). Understanding and setting the correct priority ensures your animations play when intended and don't get overridden by default Roblox character movements. For instance, a custom 'attack' animation should have a higher priority (Action or Action2) than a 'walk' animation (Movement).
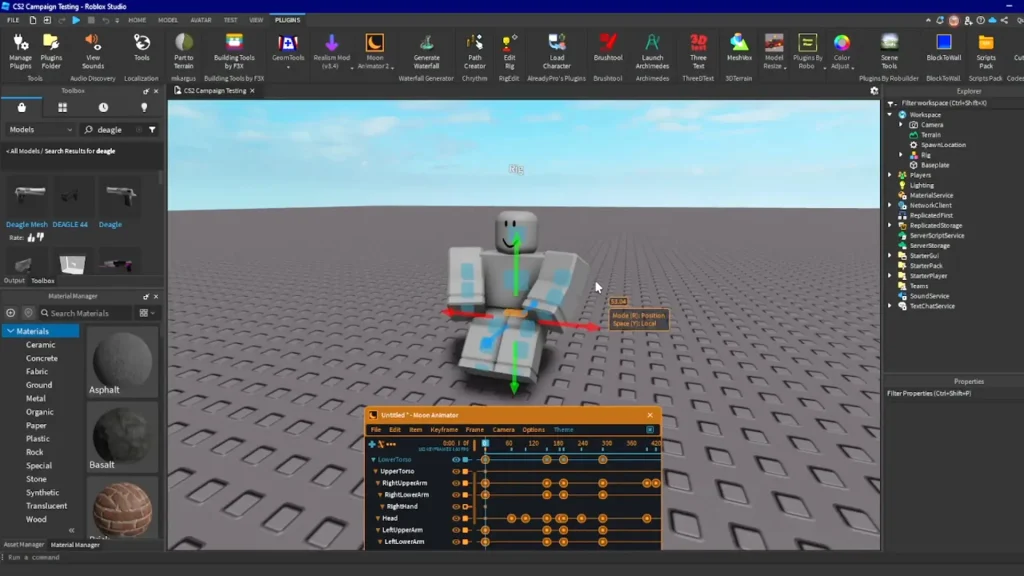
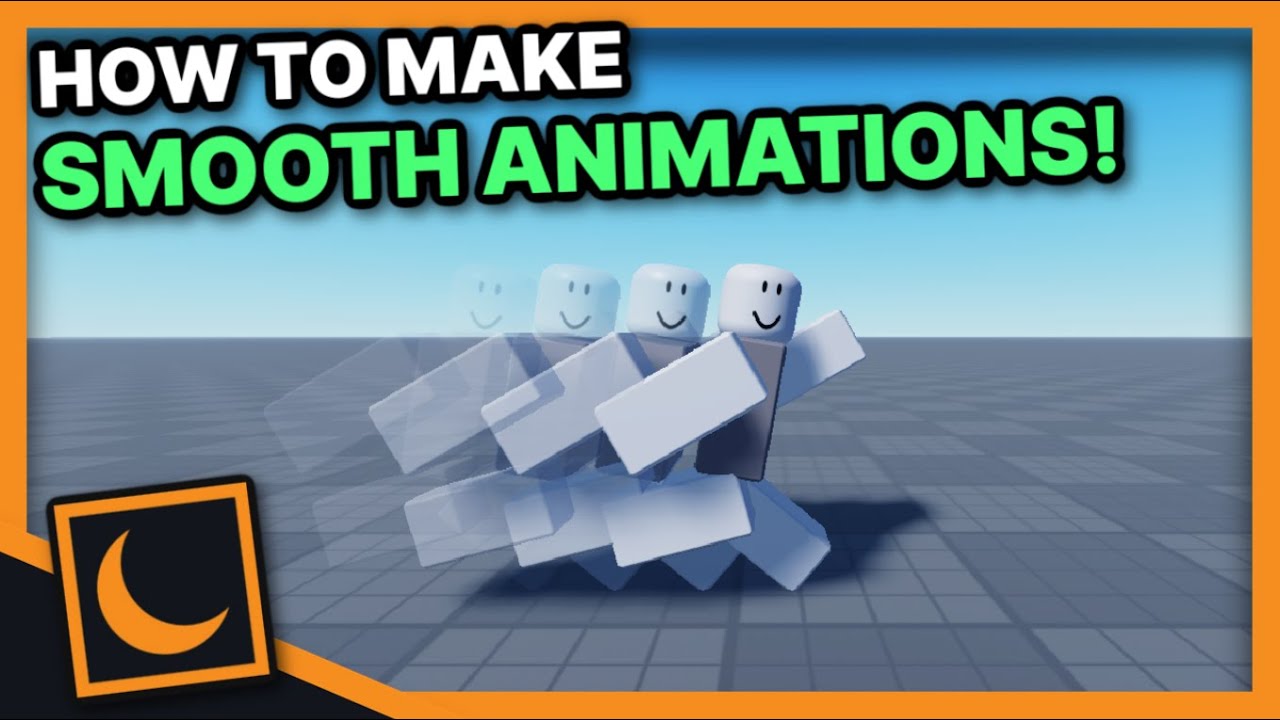
Secondly, consider **blending animations**. Instead of abrupt cuts between animations, explore how to smoothly transition from one to another using functions like `AnimationTrack:AdjustWeight()` or `AnimationTrack:AdjustSpeed()`. This creates more fluid and natural character behavior. Thirdly, leverage **inverse kinematics (IK)** for more intuitive posing. While Roblox Studio's built-in IK is basic, it can still save time for complex poses. Finally, don't shy away from **external modeling software** like Blender for complex rigging or creating custom meshes with intricate details that can then be imported into Roblox Studio for animation. This month, many creators are blending these tools for truly unique creations.
How Can I Troubleshoot Common Animation Issues in Roblox Studio?
Even seasoned creators face hiccups. If your Roblox animation isn't behaving as expected, here are some common troubleshooting steps:
- **Animation Not Playing**: Double-check the Asset ID in your script. Ensure it's correct and that the animation was successfully published. Verify that the script correctly loads the animation onto an 'Animator' instance, usually found under the 'Humanoid' for characters.
- **Animation Plays Incorrectly**: Check your rig. Are all Motor6Ds correctly set up? Is the animation designed for the correct rig type (R6 vs. R15)? If animating custom models, ensure their parts aren't anchored unnecessarily, preventing movement.
- **Animation Overrides**: If an animation isn't playing or is getting cut short, it might be an animation priority issue. Ensure your custom animation has a higher priority than any default or conflicting animations (e.g., set to 'Action').
- **Performance Issues**: Too many complex animations running simultaneously, or very long, detailed animations, can impact performance. Consider optimizing animation length, frames, and part count, especially given that 60% of US gamers value performance optimization.
- **Export/Import Problems**: If you're importing rigs or animations from external software, ensure the scaling and pivot points are correct. Exporting as an FBX file is generally recommended for complex rigs.
Using print statements in your scripts to track what's happening can also be incredibly helpful in pinpointing where an issue might lie.
Can I animate custom characters or non-human models in Roblox?
Yes, absolutely! Roblox Studio's Animation Editor isn't limited to standard R6 or R15 humanoid characters. You can animate virtually any custom model, be it a dragon, a spaceship, a transforming robot, or even a simple door. The key requirement is that your custom model must be properly 'rigged' using **Motor6D** instances or WeldConstraints (though Motor6Ds are preferred for articulated movement). Each part that you want to move or rotate must be connected to a parent part via a Motor6D. For non-humanoid models, you won't have a 'Humanoid' object, but you can still use an 'Animator' instance within a primary part of your model to load and play animations. This opens up a world of possibilities for unique game mechanics and immersive experiences.
How to animate tools or accessories in Roblox?
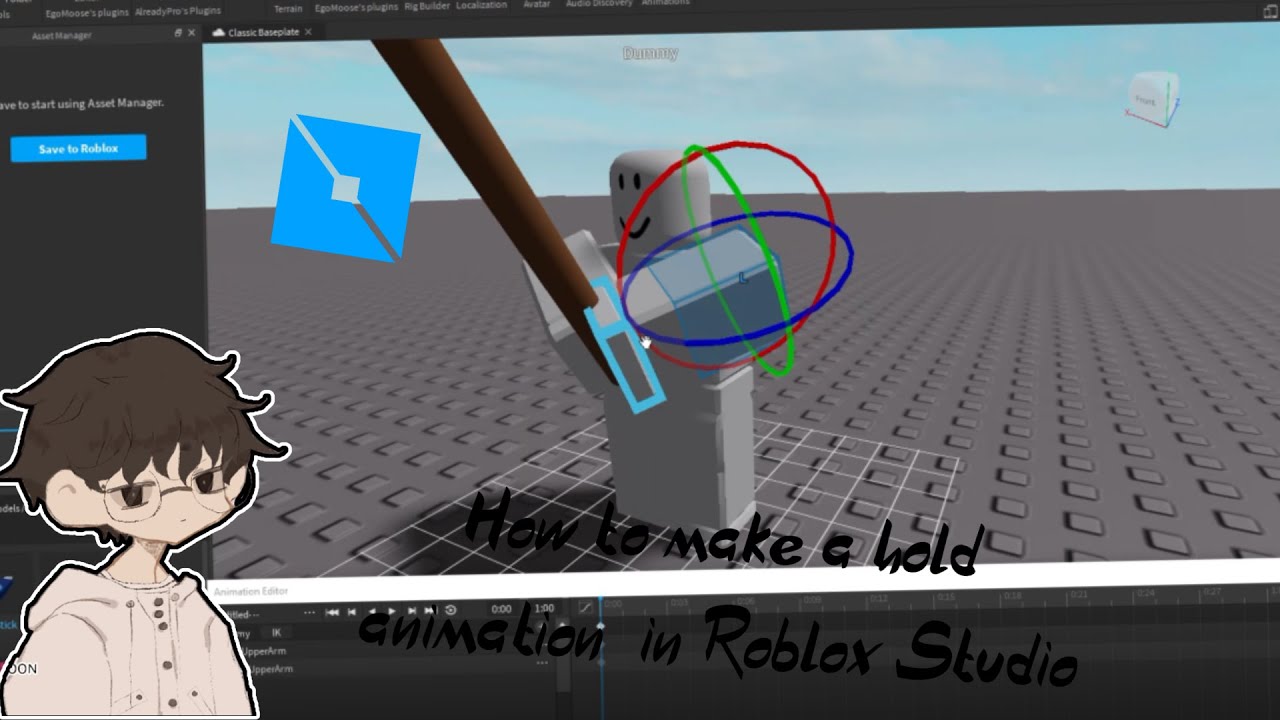
Animating tools and accessories in Roblox follows a similar principle to character animation, but with a slight twist. Tools often have a 'Handle' part, and accessories are typically connected to a character's body part via a 'Weld' or 'Motor6D'.
- **For tools held by a character**: When a character equips a tool, its handle is usually welded to the character's hand. You can then animate the character holding the tool, and the tool will move along with the hand. If you want the *tool itself* to have a dynamic animation (e.g., a sword swinging with a specific effect), you'd animate the character's arm, and the sword would follow. For more complex tool animations where parts of the tool move independently, you'll need to rig the tool itself with Motor6Ds relative to its handle, then animate it as a sub-rig while attached to the character.
- **For accessories**: Accessories like hats, shoulder pets, or wings are also typically attached to character parts. You can animate these by animating the character's attached body part. If an accessory needs independent animation (e.g., flapping wings on a backpack), you would rig the accessory with Motor6Ds relative to its connection point and animate those parts within the character's overall animation, ensuring the animation scope includes the accessory's parts.
The trick is to ensure the accessory or tool is part of the animation rig's hierarchy when you open it in the Animation Editor. If it's not, its parts won't be poseable.
Learning how to animate in Roblox is a rewarding journey that adds incredible depth and professionalism to your game development efforts. From creating a simple wave to designing complex combat sequences, the Animation Editor puts the power of dynamic storytelling right at your fingertips. For US gamers balancing life's demands, this skill offers a unique blend of creative expression and practical application. It’s a fantastic way to enhance your social gaming experiences, share unique content, and truly make your mark in the ever-evolving Roblox universe. What's your biggest gaming challenge when it comes to bringing your creations to life? Comment below!
FAQ Section
What's the best free animation software for Roblox?
The best free animation software for Roblox is the built-in Animation Editor within Roblox Studio itself. It's powerful, user-friendly, and specifically designed for the Roblox platform, making it the most integrated and accessible option for all creators.
How long does it take to learn Roblox animation?
Basic Roblox animation can be learned in a few hours of dedicated practice, especially with tutorials. Mastering it for complex, realistic movements might take weeks or months, but consistent effort and experimentation yield rapid improvement for most busy gamers.
Can I sell my Roblox animations?
Yes, you can sell your Roblox animations! Creators can offer their animation assets for sale on the Roblox Marketplace (Creator Store) or offer their services as an animator for other developers' projects. This can be a great way for skilled animators to earn Robux.
What are R6 and R15 animations?
R6 and R15 refer to Roblox's two main character rig types. R6 has 6 body parts, offering a classic blocky look. R15 has 15 body parts, allowing for more fluid, detailed, and realistic animations due to additional joints like knees and elbows. You must animate for the correct rig type.
Do I need coding for Roblox animations?
While you don't need coding to *create* an animation in the Animation Editor, you do need basic Lua scripting to *play* and *control* when and how those animations function within your Roblox game. This involves loading the animation by its Asset ID and playing it via an Animator.
How to fix animation not playing in Roblox?
If a Roblox animation isn't playing, ensure the Asset ID is correct, the animation is published, and your script properly loads it onto an 'Animator' instance. Check animation priority; higher priority animations can override lower ones. Also, verify your character's rig is correctly set up (R6/R15).
What is the Animation Editor shortcut key in Roblox Studio?
There isn't a single universal shortcut key to *open* the Animation Editor directly; you typically access it via the 'Plugins' tab in Roblox Studio. However, once inside the editor, you'll use standard Studio shortcuts for moving (T), rotating (R), and scaling (S) parts.
Learn to animate in Roblox, Roblox Animation Editor steps, keyframe animation techniques, character rigging for animation, publishing Roblox animations, troubleshooting animation issues, advanced Roblox animation tips, creating expressive movements in Roblox Studio.
35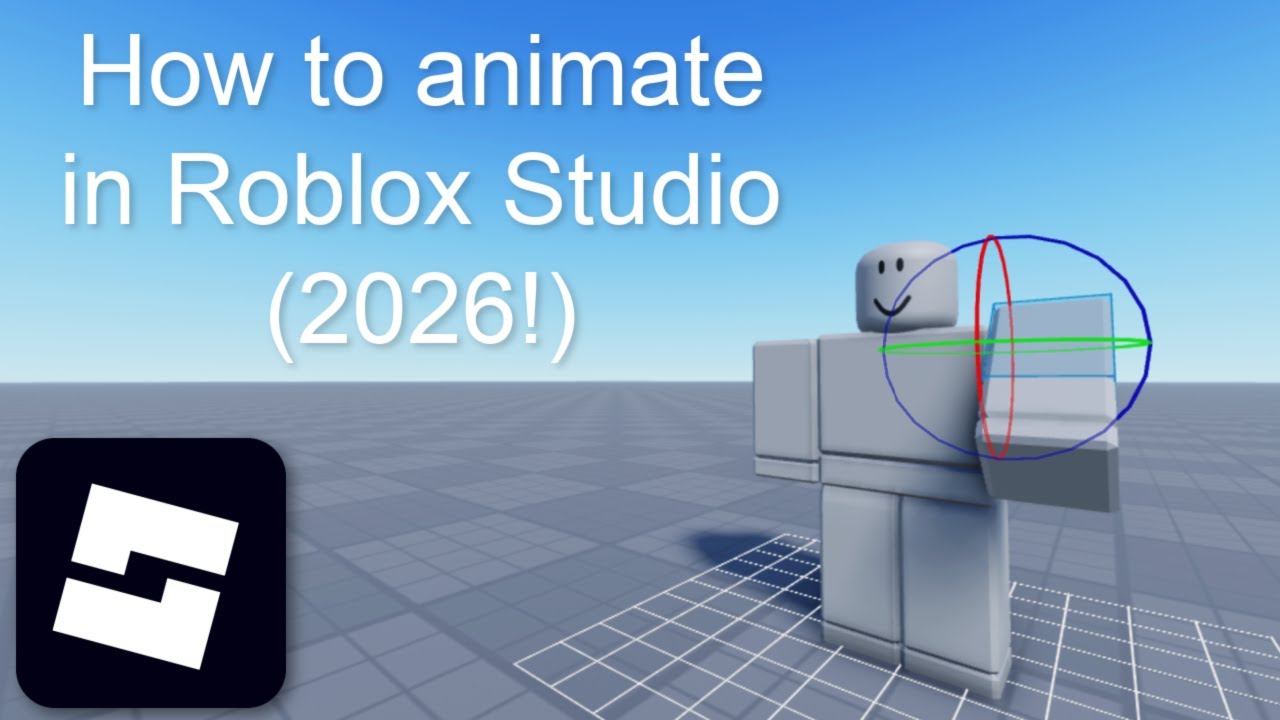



How To Animate In Roblox Studio 2026 YouTube . Roblox Animation Unleash Your Creativity . How To ANIMATE In ROBLOX STUDIO 2023 YouTube . Animate Your Roblox Avatar In Blender . Animating Two Rigs In Roblox Studio A Simple Guide


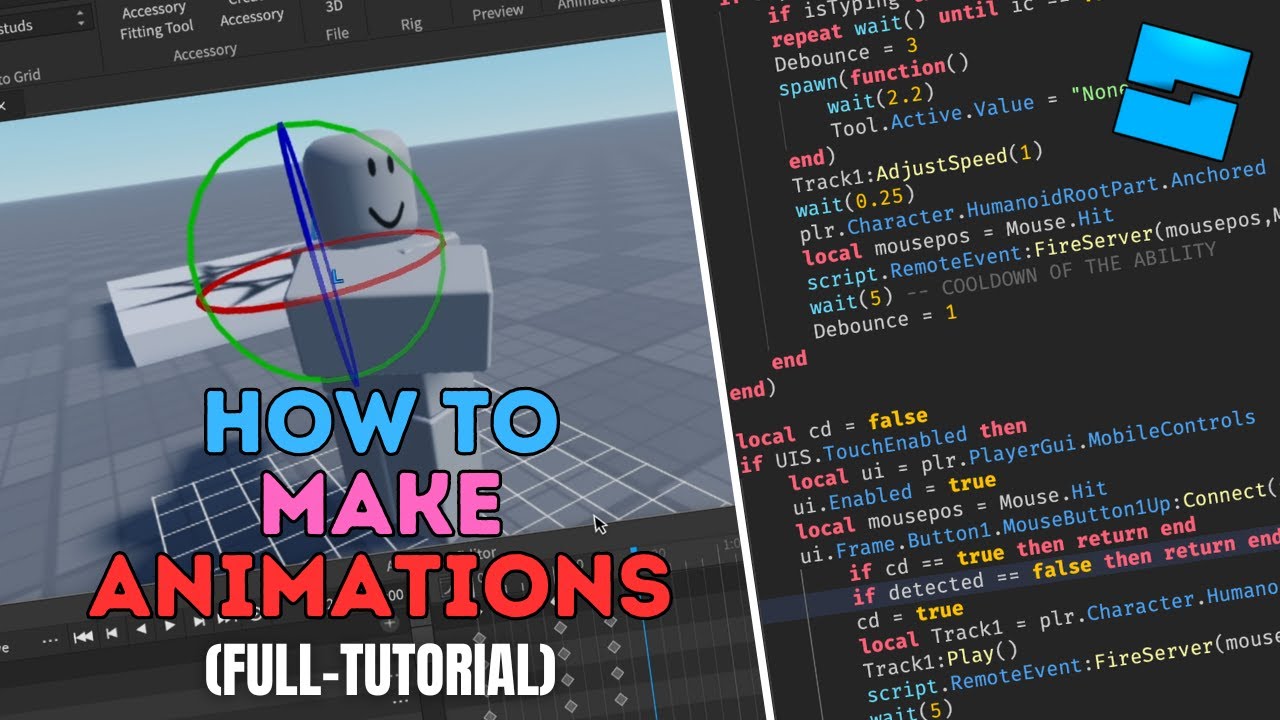
Animating Two Rigs In Roblox Studio A Simple Guide . Animating Two Rigs In Roblox Studio A Simple Guide . Animating Two Rigs In Roblox Studio A Simple Guide . How To Animate In Roblox Studio Quick Guide YouTube . How To Make Animations In Roblox Studio FULL TUTORIAL YouTube
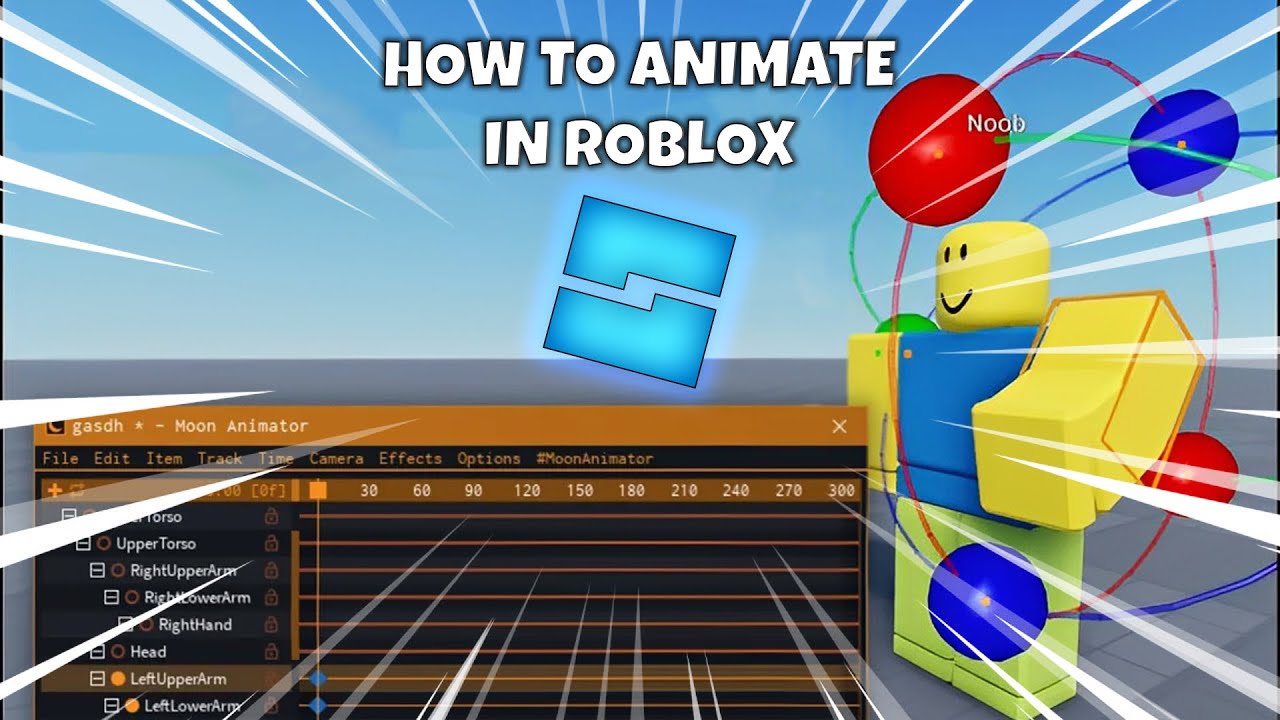


How To Animate In Roblox Studio MAKE CUTSCENES YouTube . How To Make An Animation In Roblox Animation 1 YouTube . Unlocking Roblox Animation Power With Moon Animator Up To Date 2026 . How To Animate Models Roblox Studio YouTube . How To Animate Faces In Roblox Studio Step By Step 2026 YouTube
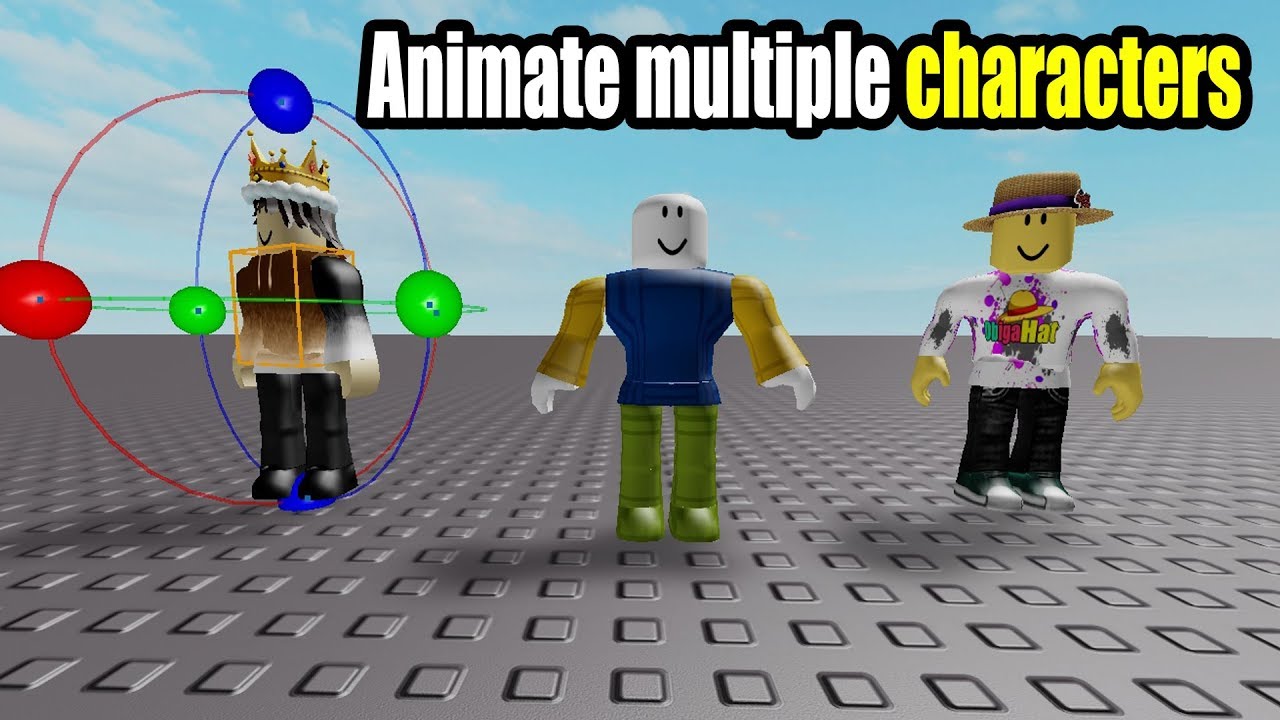

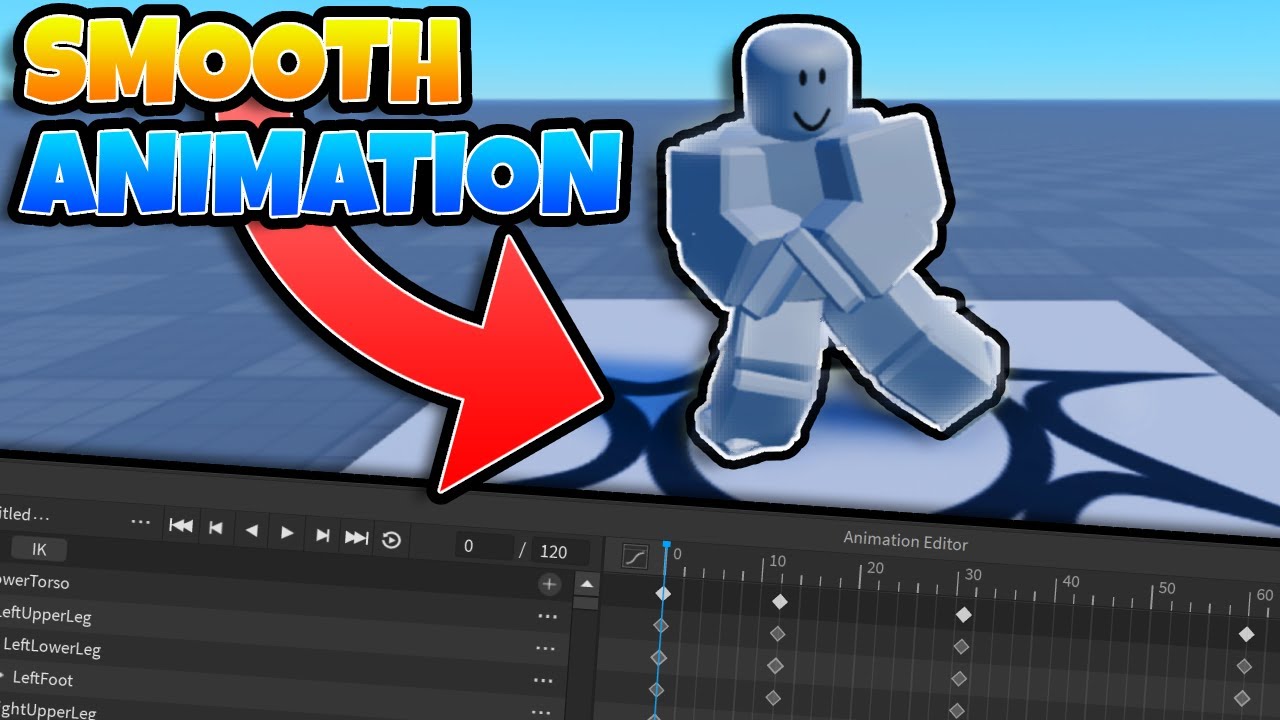
How To Animate Multiple Characters Roblox Animation Tutorial Part 4 . How To ANIMATE Tools In Roblox Studio YouTube . How To Make SMOOTH ANIMATIONS Roblox Studio 2023 YouTube . How To Make Animations In Roblox Studio For Beginners A Quick User 282 Cover. Animating Two Rigs In Roblox Studio A Simple Guide




Roblox Studio How To Animate Roblox Character In Blender YouTube . How Export Animations In Roblox Studio Make Animations In Roblox . Unlocking Roblox Animation Power With Moon Animator Up To Date 2026 . How To Animate In ROBLOX Studio 2025 YouTube . Animate Your Roblox Avatar In Blender



Making Roblox Animations Your Creative Journey . HOW To ANIMATE In ROBLOX STUDIO In 2021 YouTube . Animate Your Roblox Avatar In Blender . Roblox R6 Explained What Does It Really Mean . Unlocking Roblox Animation Power With Moon Animator Up To Date 2026 SL1500



Animate Your Roblox Avatar In Blender . Animating Two Rigs In Roblox Studio A Simple Guide . Unlocking Roblox Animation Power With Moon Animator Up To Date 2026 . How To Animate And Make Roblox Movies Roblox Animation Tutorial Part1 . How To Publish A Game On Roblox In 2026 Roblox YouTube